Backstage: Creating a Business Unit
This guide provides a complete end-to-end walkthrough of creating a new business unit through the Backstage developer portal. The process automates infrastructure provisioning from a simple form submission through to fully deployed GCP resources.
Overview
Creating a business unit through Backstage automates the entire process:
- Fill out a simple form in Backstage
- Backstage generates Terraform configuration and creates a Pull Request
- GitHub Actions runs
terraform planand validates the configuration - Approve and merge the PR
- GitHub Actions runs
terraform applyvia Cloud Build - GCP resources (folders, WIF project) are created
Step 1: Navigate to Create Business Unit
Go to Create... in the left sidebar, or navigate directly to:
/create/templates/default/create-business-unit
The template consists of 3 steps:
- Business Unit Configuration
- GitHub Teams
- Review
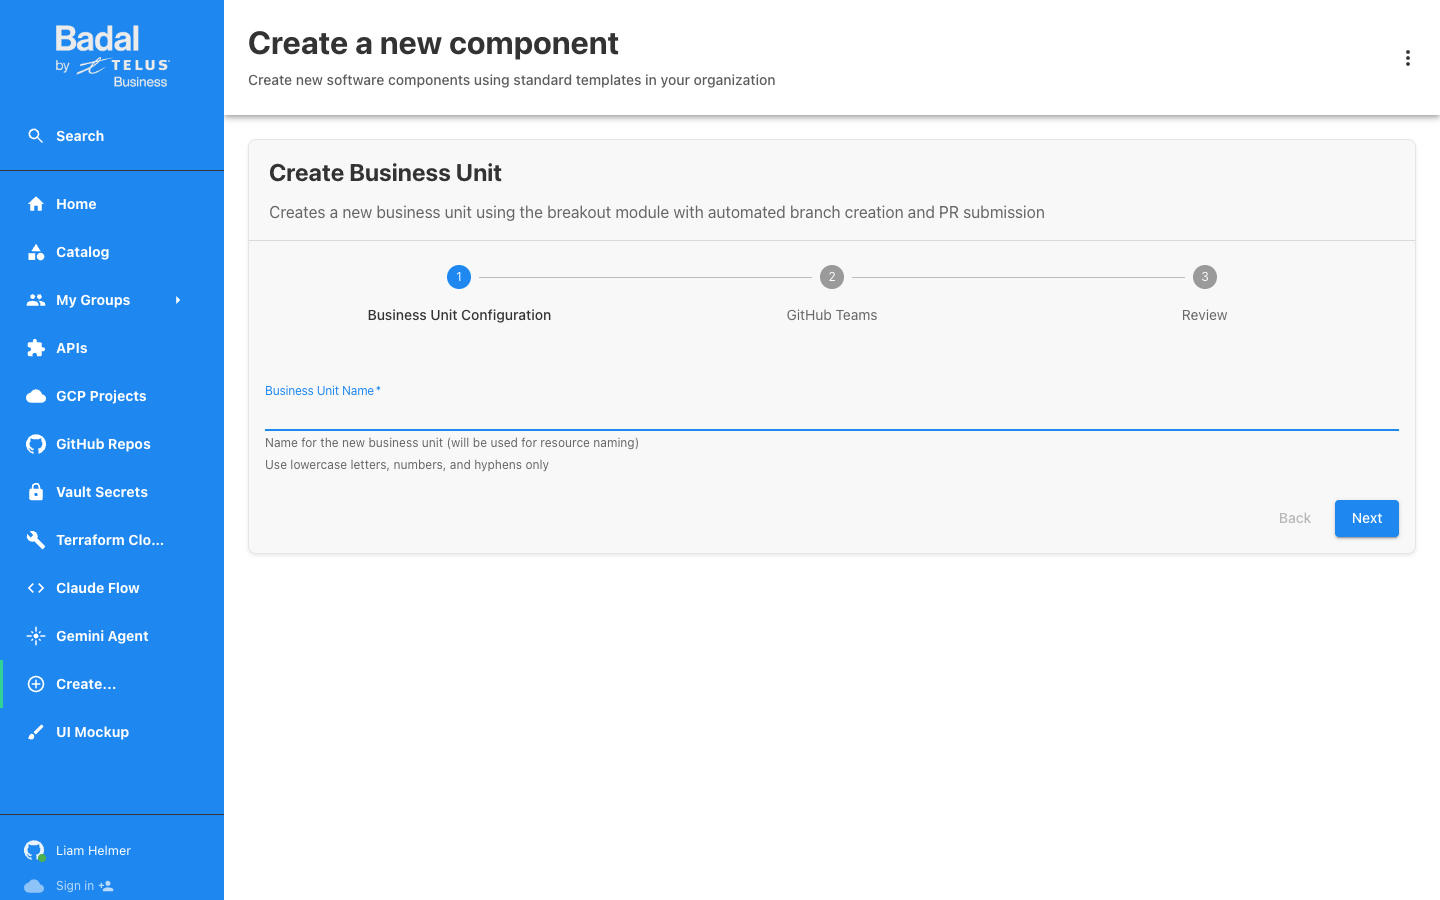
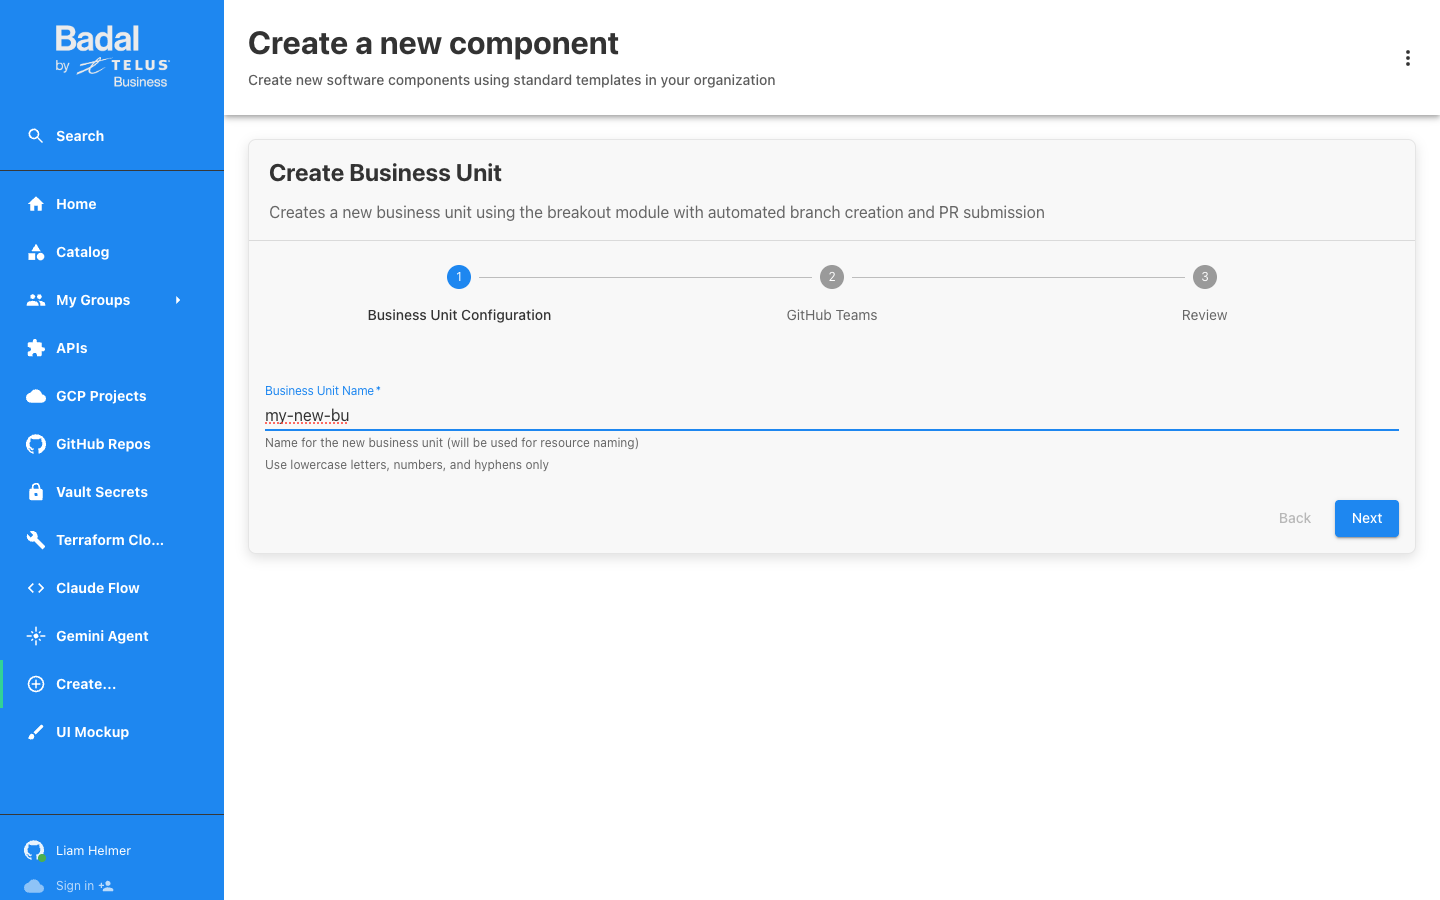
Step 2: Enter Business Unit Name
Enter the name for your new business unit. The name must follow these rules:
- Lowercase letters only
- Numbers are allowed
- Hyphens (
-) are allowed - No spaces, underscores, or special characters
This name will be used for resource naming across GCP, GitHub, and Terraform Cloud.
Example: my-new-bu
Step 3: Configure GitHub Teams (Optional)
On the second step, you can add GitHub teams with permission levels for the new repository that will be created for the business unit.
Permission Levels
| Level | Description |
|---|---|
read | Read-only access to the repository |
triage | Read access plus the ability to manage issues and pull requests |
write | Read and write access to the repository |
maintain | Write access plus repository management (settings, branch protection) |
admin | Full administrative access to the repository |
You can skip this step if no teams need access yet. Teams can always be added later.

Step 4: Review and Create
The review step displays a summary of all configuration you have entered. Verify the details are correct.
Click "Create" to start the scaffolder task.

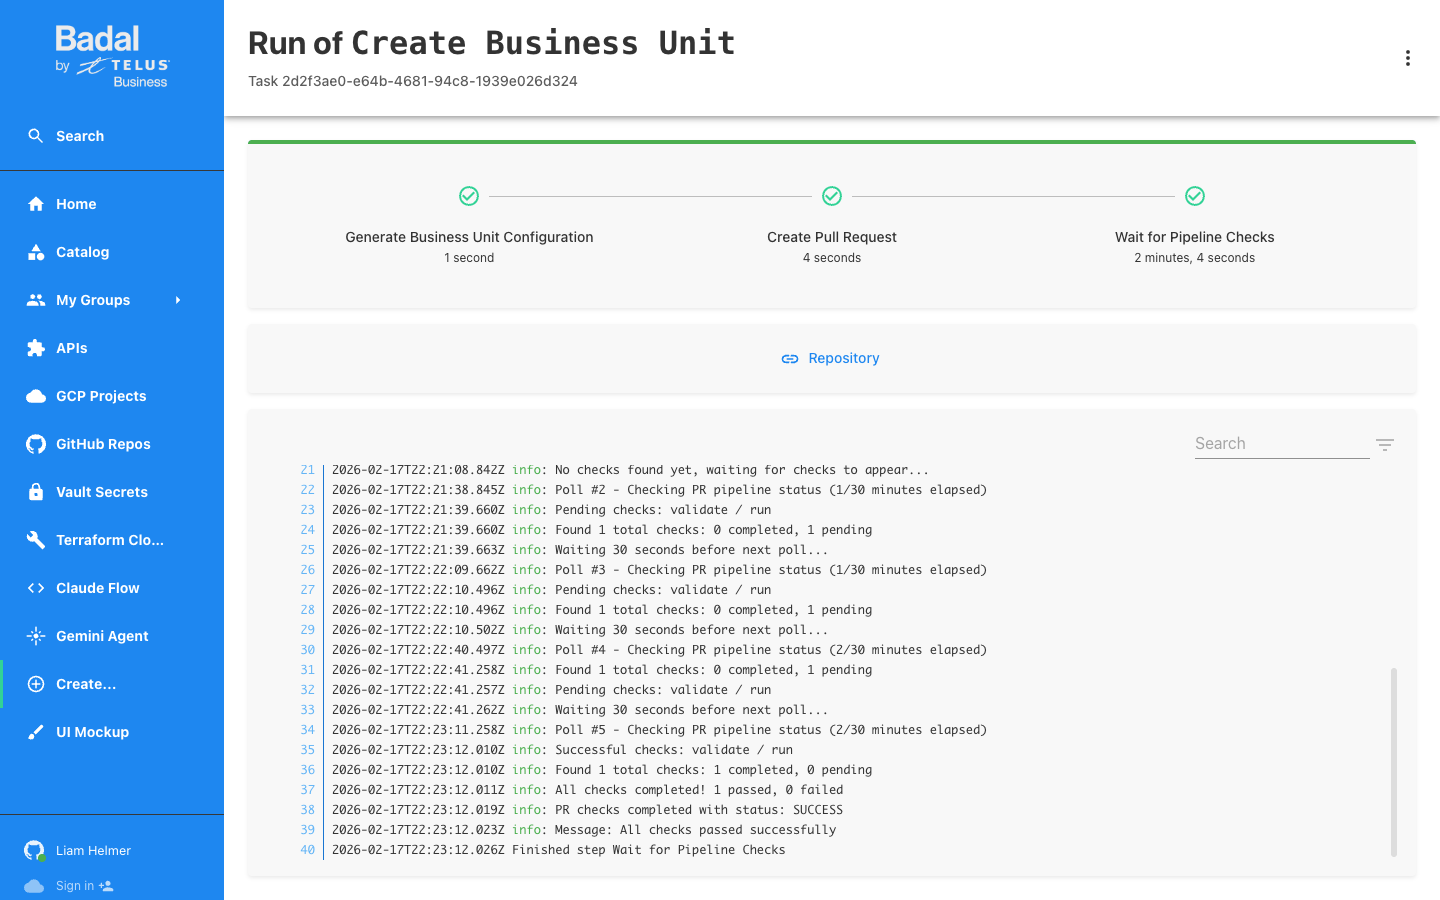
Step 5: Scaffolder Execution
After clicking Create, Backstage runs three automated steps:
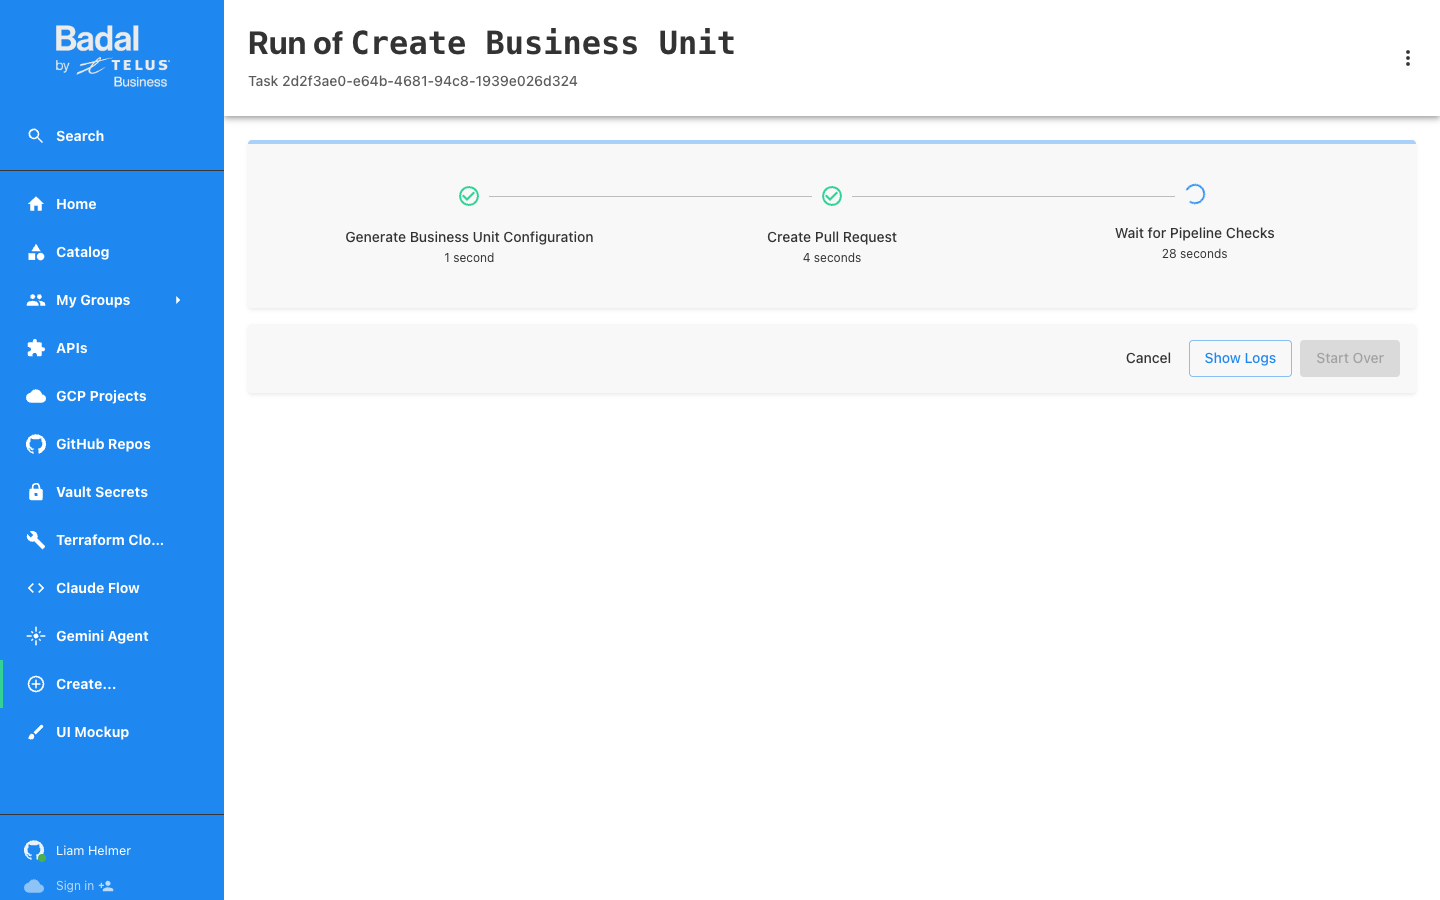
Step Breakdown
| Step | Name | Duration | Description |
|---|---|---|---|
| 1 | Generate Business Unit Configuration | ~1 second | Creates Terraform HCL files for the business unit |
| 2 | Create Pull Request | ~4 seconds | Opens a PR in the gcp-foundations-projects repository |
| 3 | Wait for Pipeline Checks | ~2 minutes | Polls GitHub for CI check completion |
Pipeline Check Polling
During step 3, Backstage polls the GitHub API every 30 seconds to check the status of the validate / run CI check. The logs display each polling attempt, showing the check status until completion.
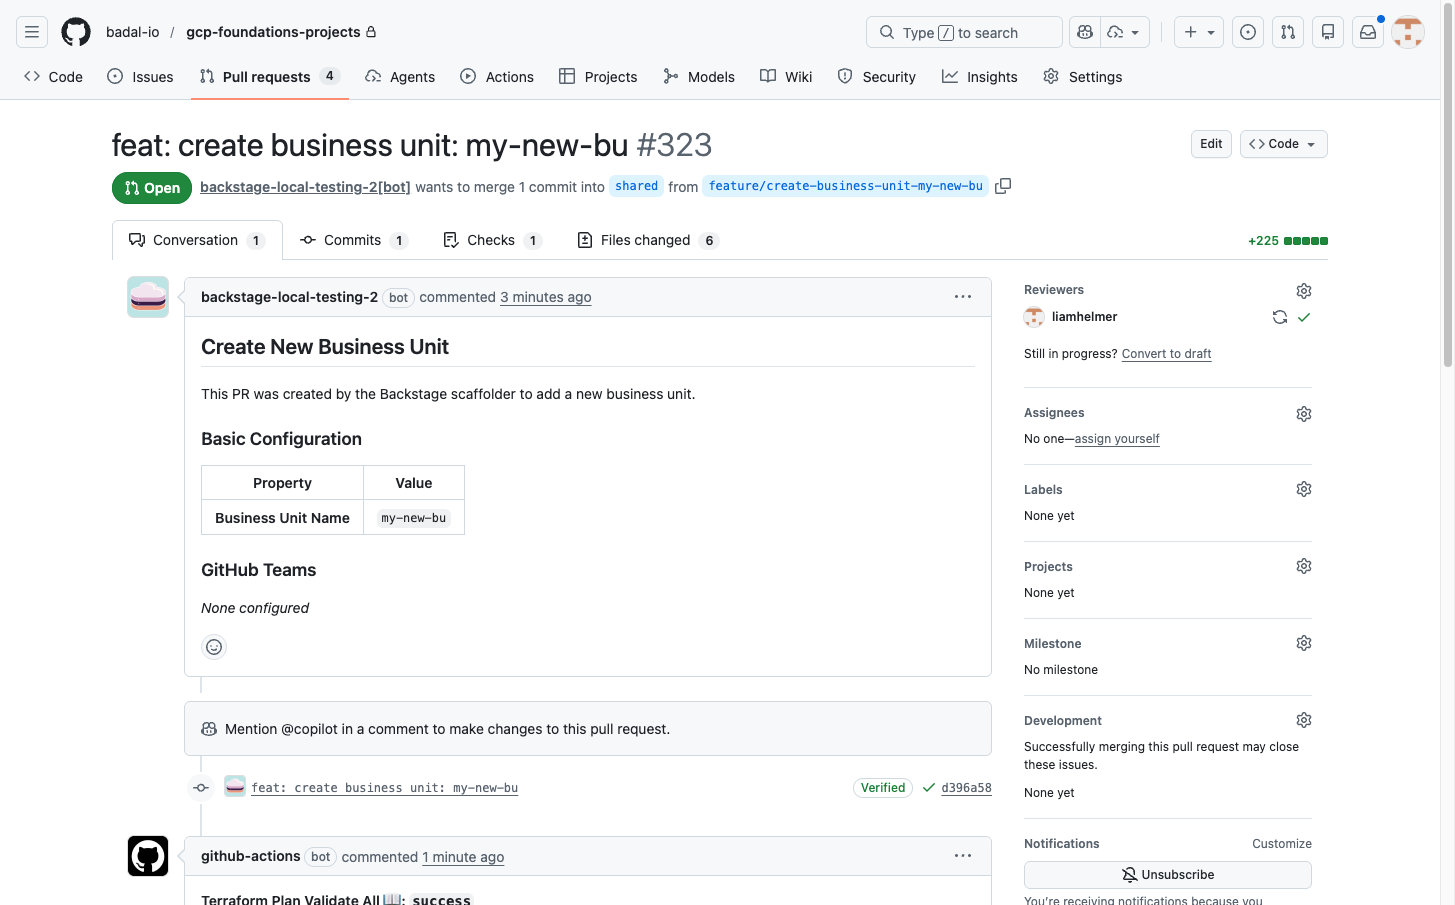
Step 6: Review the PR on GitHub
The PR is created by the backstage-local-testing-2[bot] app in the gcp-foundations-projects repository.
PR Details
| Property | Value |
|---|---|
| Source branch | feature/create-business-unit-my-new-bu |
| Target branch | shared |
| Created by | backstage-local-testing-2[bot] |
| Repository | gcp-foundations-projects |
The PR description includes a configuration table summarizing the business unit parameters.
CI Checks
GitHub Actions automatically runs terraform plan on the PR and posts the plan output as a PR comment. This allows reviewers to see exactly what GCP resources will be created before approving.

Step 7: Approve and Merge
Review Process
- Review the Terraform plan output posted as a PR comment
- Verify the planned resources match your expectations
- Approve the PR (requires at least 1 approving review)
- Confirm all checks pass: Terraform plan validates with no errors and no merge conflicts
Merge
Once approved and all checks pass, merge the PR to trigger the apply.
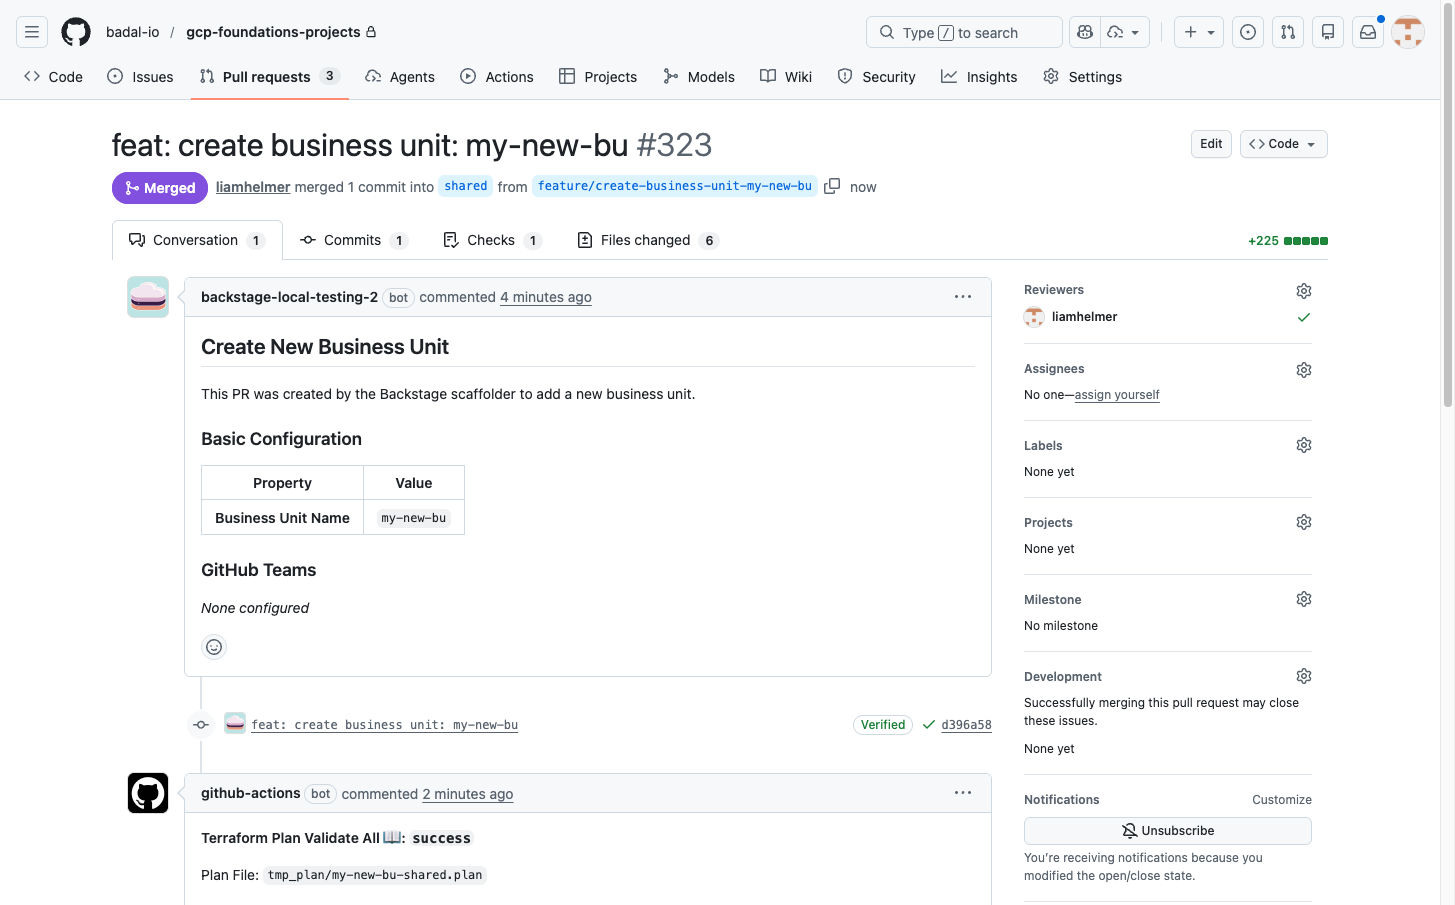
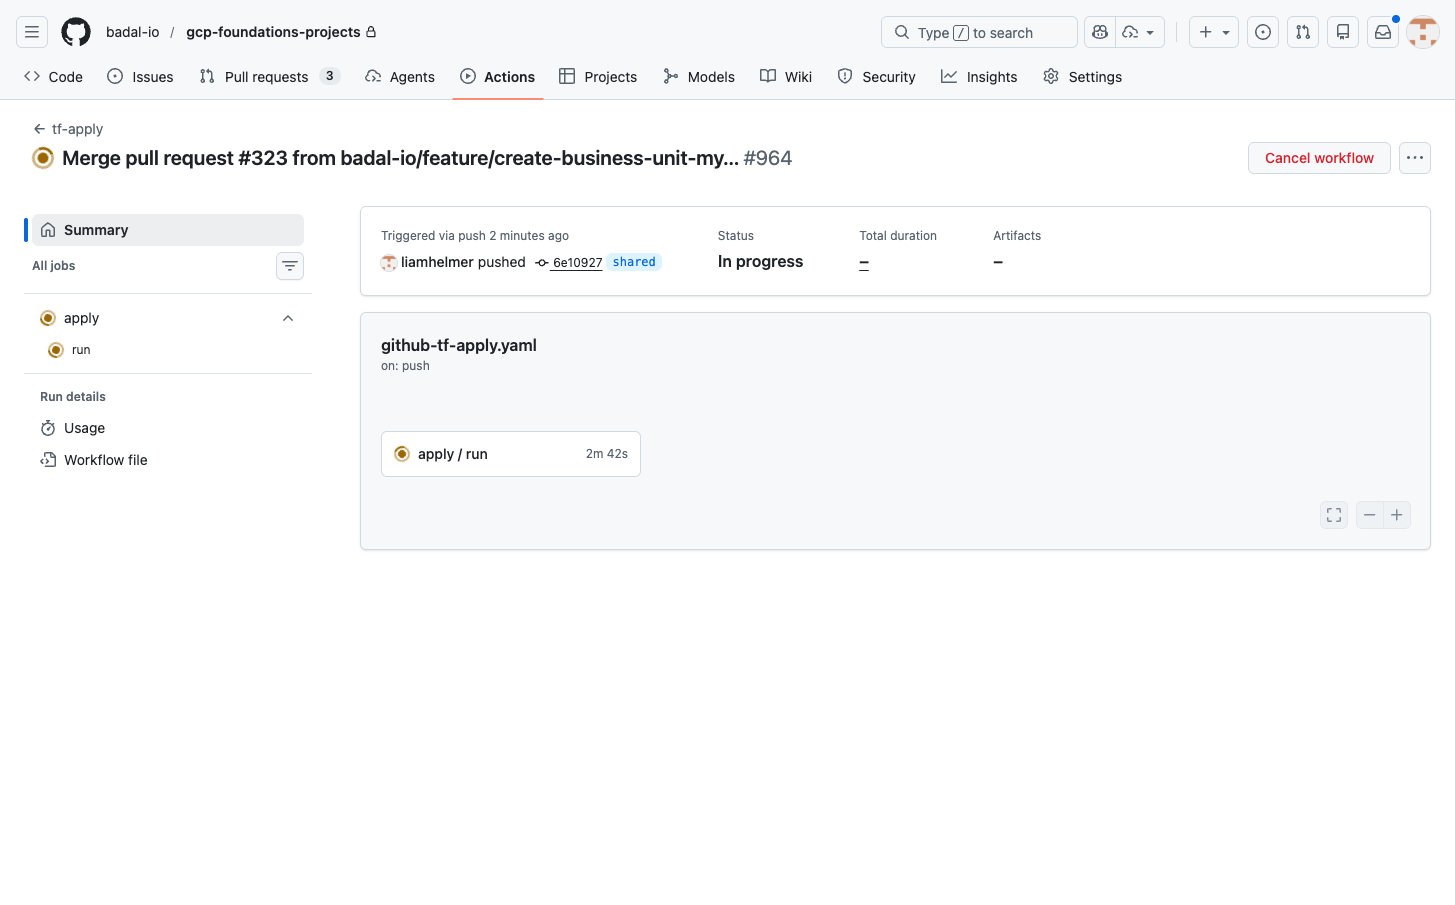
Step 8: Terraform Apply
After merging, the tf-apply GitHub Actions workflow runs automatically.
| Property | Value |
|---|---|
| Trigger | Push to the shared branch |
| Execution | terraform apply via Cloud Build |
| Resources created | GCP folders, WIF host project, service accounts |
What Gets Created
When the terraform apply completes successfully, the following resources are provisioned:
GCP Folders
Business unit folders are created in each environment folder:
| Environment Folder | Created Folder |
|---|---|
fldr-common | my-new-bu-{suffix} |
fldr-development | my-new-bu-{suffix} |
fldr-non-production | my-new-bu-{suffix} |
fldr-production | my-new-bu-{suffix} |
Workload Identity Federation (WIF) Host Project
A dedicated WIF host project is created:
- Project:
wif-host-{suffix} - Location:
fldr-common/my-new-bu-{suffix} - Purpose: Hosts Workload Identity Federation pools for the business unit's CI/CD pipelines
GitHub Repository
A new GitHub repository is created in the badal-io organization:
- Repository:
bu-my-new-bu-{suffix} - Organization:
badal-io - Purpose: Contains Terraform configuration for managing the business unit's tenants
Terraform Cloud Workspace
For business unit repositories that use Terraform Cloud:
- A Terraform Cloud workspace is created for managing the BU's tenant infrastructure
- The workspace is linked to the new GitHub repository
The {suffix} in resource names is a unique identifier generated during the bootstrap process to ensure global uniqueness across GCP.